To install ElcomSoft Distributed Password Recovery on your computer follow the instructions:
- launch the “edpr_setup.msi” program;
- choose the preferable interface language and press “OK” (Fig. 3.2.1);
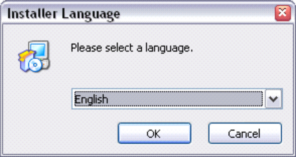
Figure 3.2.1 Installer language selection dialog.
- follow the setup program instructions (Fig. 3.2.2);
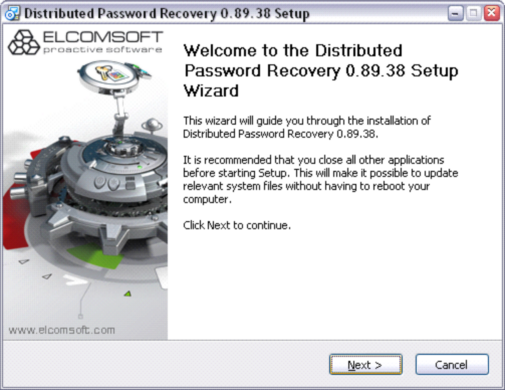
Figure 3.2.2 Start Setup Wizard dialog box.
- click “Next” to continue or “Cancel” to quit setup (Fig. 3.2.3);

Figure 3.2.3 Dialog box to confirm the setup quitting.
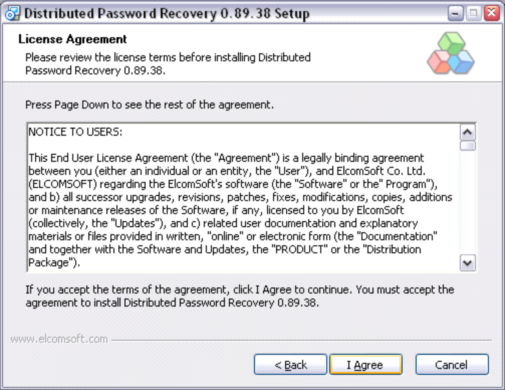
Figure 3.2.4 License Agreement dialog box.
- click “I Agree” if you accept the license agreement terms; click “Cancel” to terminate the setup process; or “Back” to return to the previous window of the setup program (Fig. 3.2.4);
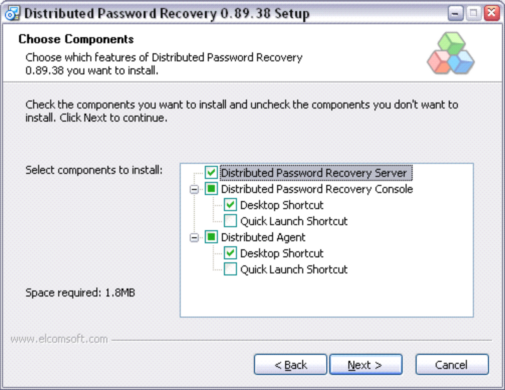
Figure 3.2.5 Dialog box to choose the components to install.
- choose the components you want to install and click “Next” (Fig. 3.2.5);
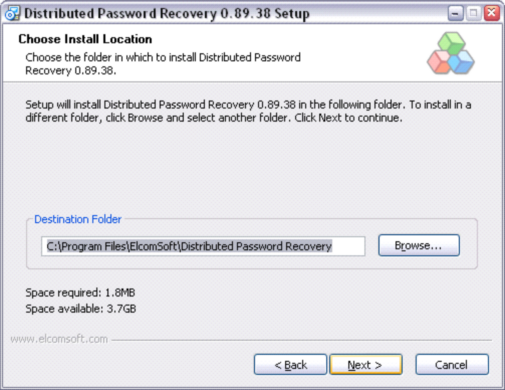
Figure 3.2.6 Select the folder to install the program in.
- click “Browse” if you want to change the default folder (Fig. 3.2.6), then select the folder needed and click “Ok” (Fig. 3.2.7), when you have chosen the folder, click “Next” (Fig. 3.2.6);
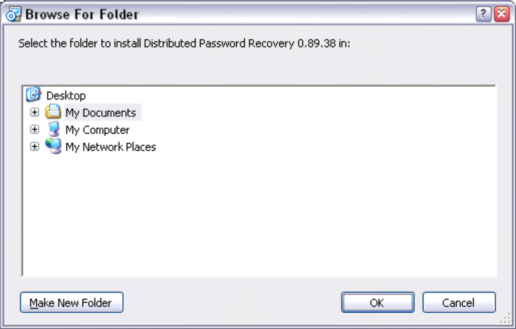
Figure 3.2.7 Folder selection dialog box.
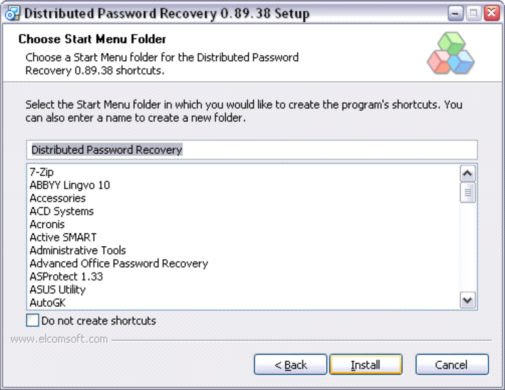
Figure 3.2.8 Choosing the folder in the program’s Start Menu.
- provide the folder name in the Start Menu dialog box that appears (Fig. 3.2.8). Click “Install”;
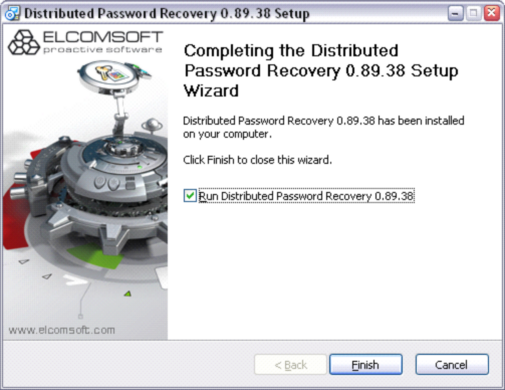
Figure 3.2.9 Dialog box to finish the setup process;
- uncheck the box in this dialog box if you don’t want to launch the program the moment you click “Finish” (Fig. 3.2.9);
- click “Finish” to complete the setup process.