To install ElcomSoft Distributed Agent on the computer:
- start the program «epr_agent_setup_en.msi»;
- select the preferred language of the program interface and click «OK» (Figure 3.2.1);

Figure 3.2.1 . Dialog box for selection of preferred language for Program interface.
- follow the instructions of the setup program (Figure 3.2.2);
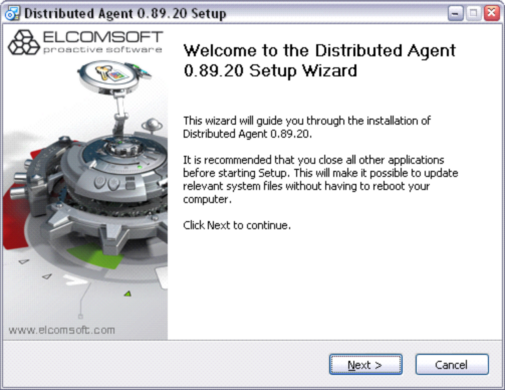
Figure 3.2.2. Dialog box for staring Program installation.
- click «Next» to continue the installation or «Cancel » to quit the installation (Figure 3.2.3);
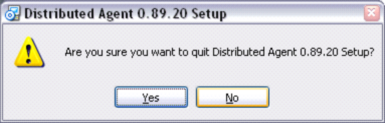
Figure 3.2.3. Dialog box to confirm cancellation of Program setup
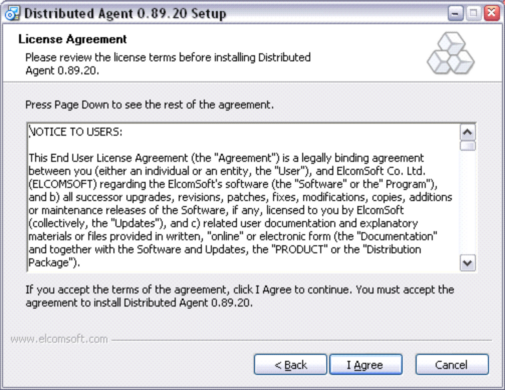
Figure 3.2.4. Dialog box with licensing agreement.
- click «I Agree», if you agree with the conditions of the licensing agreement, click «Cancel» if you want to quit the installation, «Back » - if you want to return to the previous window of the program setup (Figure 3.2.4);
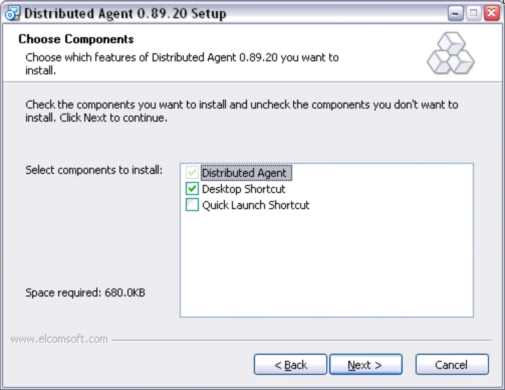
Figure 3.2.5. Dialog box for selection of components to install.
- select the components you want to install and click «Next » (Figure 3.2.5);
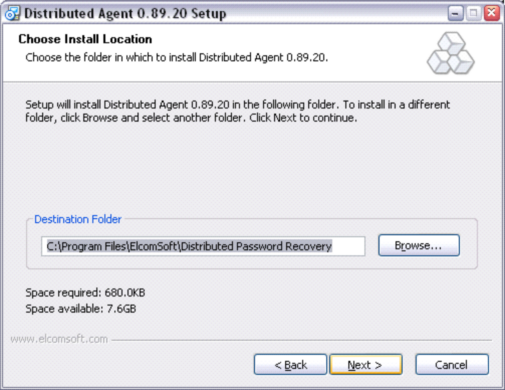
Figure 3.2.6. Selection of folder for Program installation.
- click «Browse» if you want to change the folder on default (Figure 3.2.6), then select a required folder and click «OK» (Figure 3.2.7), if you do not want to change the folder where the program will be installed click «Next » (Figure 3.2.6);
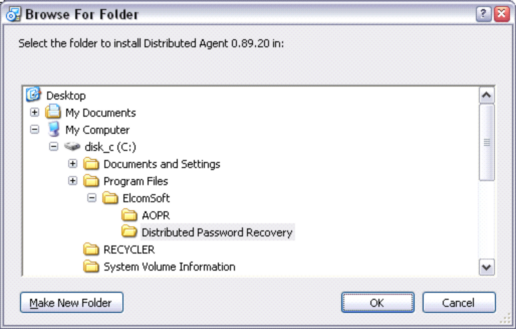
Figure 3.2.7. Dialog box for selection of folder.
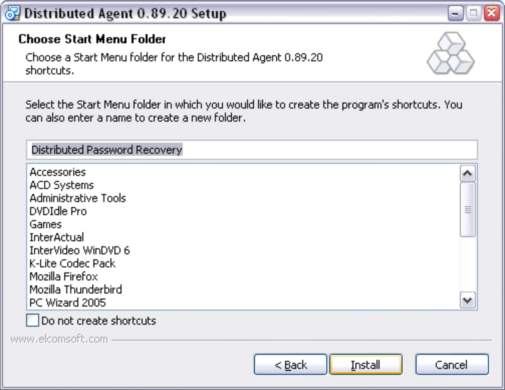
Figure 3.2.8. Selection of folder with standard program menu.
- in the opening dialog box (Figure 3.2.8) indicate to the folder name in the standard Program menu. Click «Install»;
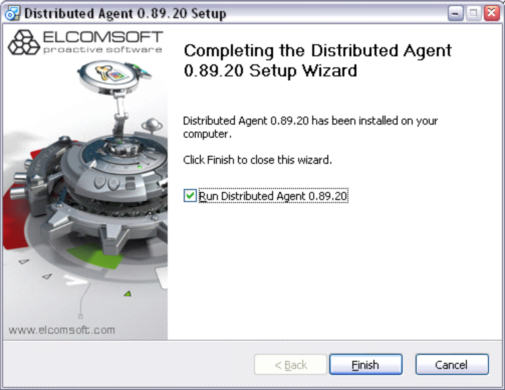
Figure 3.2.9. Dialog box of installation completion.
- remove the «check mark» in this dialog box if you do not want to run the program when clicking «Finish » (Figure 3.2.9);
- click «Finish » to complete the installation.